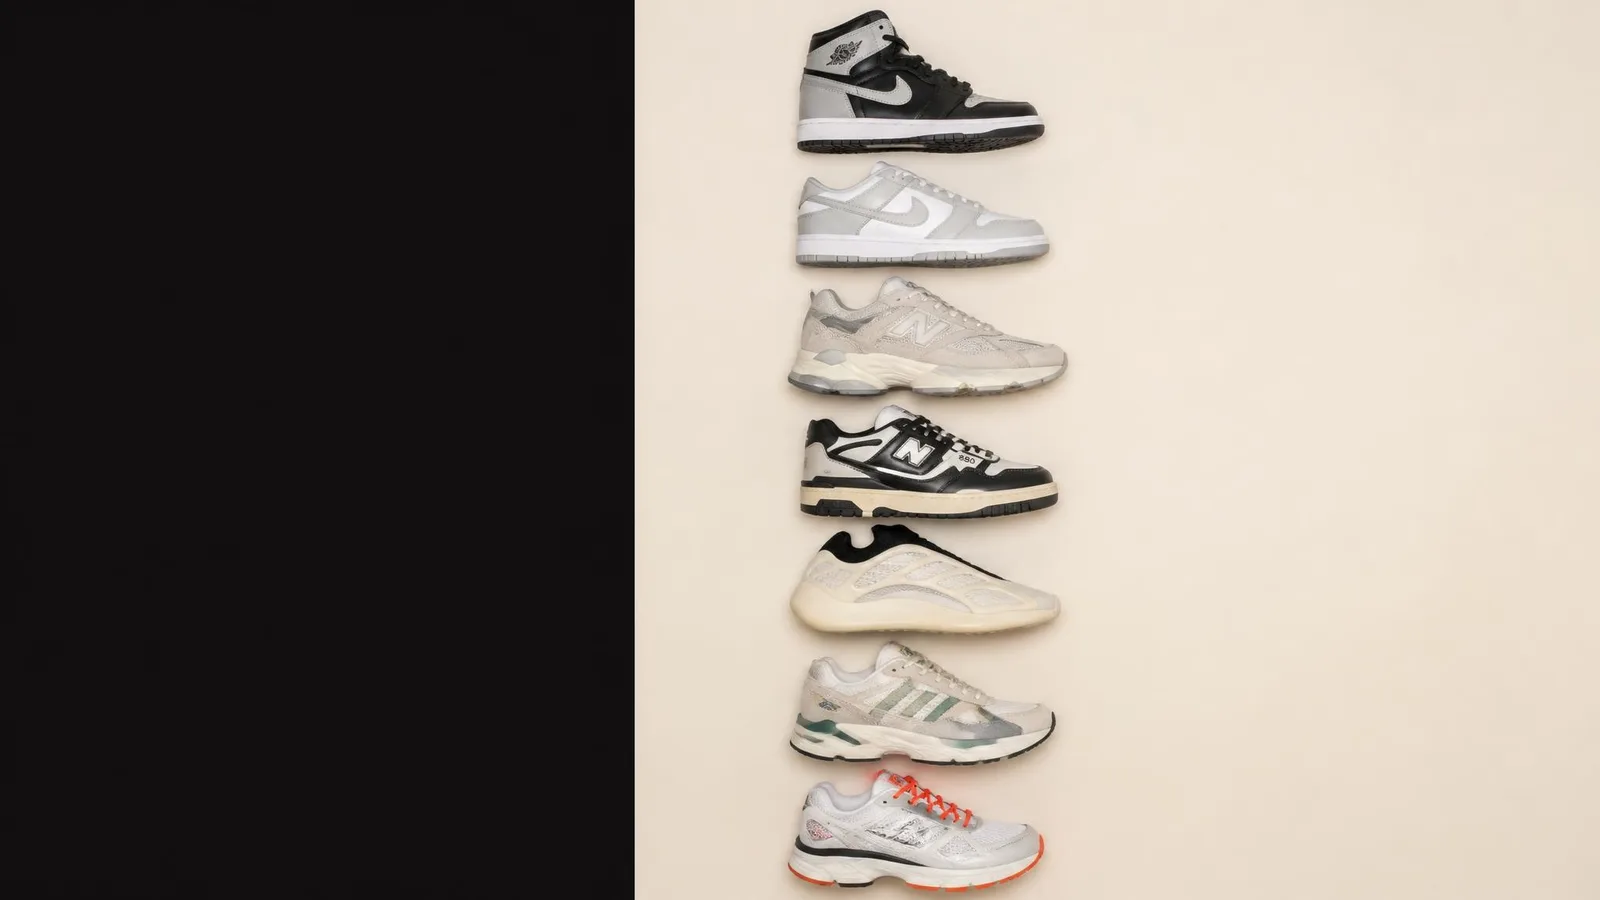
You own 50 pairs, but the receipts are buried in email, an old Notes file covers only half, and the rest lives in your head. You can catalog the collection in one weekend with 3 focused sessions: 45–60 minutes to gather your records, 2–3 hours to add every pair, and 30–45 minutes to verify uncertain entries. When you finish, you will have an estimated rack value that updates daily, your recorded cost basis, estimated unrealized P/L, and a comparison with the CYKI 100. No more half-finished spreadsheet. Just one searchable record of your collection.
Why 50 Pairs Feels Impossible to Catalog (And Why It Is Not)
The problem is fragmentation. Spreadsheets, Notes apps, screenshots and marketplace histories hold separate pieces of the record, but they do not automatically combine purchase data, updated value estimates and collection-level totals. The scattered-records feeling comes from maintaining disconnected systems, not from owning too many pairs.
The mental barrier is bigger than the actual task. Most collectors look at 50 pairs and see one giant cataloguing job. Break it into 3 sessions and batch by silhouette: all Jordan 1s, then all Dunks, then all New Balance. Each batch feels like a small, completable task instead of an open-ended project.
An 80% complete record with some estimated values is more useful than a blank spreadsheet you plan to finish "next weekend." Worn pairs and beaters belong in the catalog too. Excluding them understates your total rack value and breaks the cost-basis P&L calculation. Dead stock, daily rotations, grails, shelf warmers: they all count.
The Three-Session Plan for Cataloguing Your Sneaker Collection
The entire workflow fits into 3 sessions. Adapt the pace to your schedule, but keep the sequence: prep before entry, entry before verification.
- Session 1, Prep (45–60 minutes). Gather every source of purchase data before you open the app. Dig out receipts, pull up order emails, export marketplace transaction histories. This session happens away from your rack.
- Session 2, Fast First Pass (2–3 hours). Enter every pair with the minimum viable data set. Speed over completeness. Batch by silhouette or brand to keep searches fast.
- Session 3, Accuracy Pass (30–45 minutes). Sweep through flagged pairs, correct estimated values and verify condition ratings. This turns a fast record into a trustworthy one.
Total realistic time for 50 pairs: one focused afternoon plus a short follow-up session. The rest of the weekend stays yours. The structure works whether you add pairs manually or use a migration feature later.
Session 1: Gather Everything Before You Enter Anything
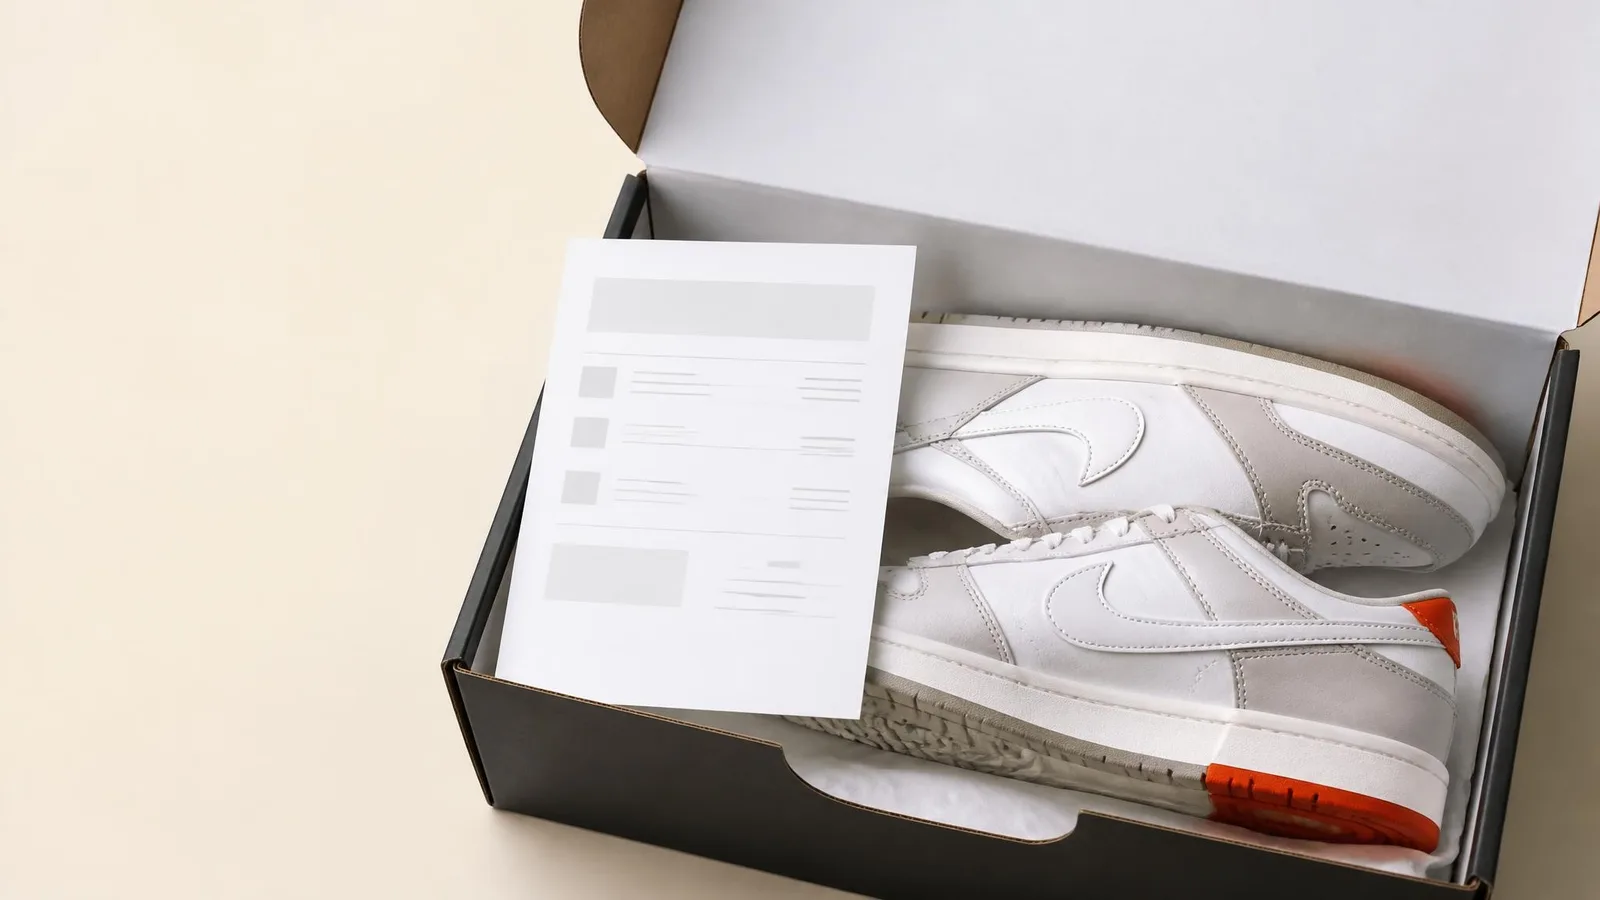
Prep is the session most collectors skip, and it is the one that saves the most time during entry. Organize your sneaker collection data before you touch the app.
Pull together 4 sources:
- Physical receipts. Check shoe boxes, desk drawers and that one bag you never unpacked.
- Order confirmation emails. Search your inbox for retailer names, "order confirmed" and "shipping confirmation."
- Resale marketplace order histories. Open your StockX Buying History and GOAT Orders screen. Download or export records where that option is available, or keep the histories open for reference during entry.
- Existing spreadsheets or Notes files. Print them or keep them open on a second screen.
Finding Purchase Prices for Pairs Bought Years Ago
For pairs with no surviving receipt, check order emails, marketplace history, bank or card statements, and the box label first. If the true amount is still unavailable, estimate the all-in cost using the release-year retail price or historical resale data, then mark the figure as an estimate. Do not present MSRP as the price you actually paid. Check what to record for each pair if you want the full field list before you start.
Physical box labels, written with a marker before you sit down, are a low-friction way to pre-sort pairs by silhouette or brand. Before you sit down, label or group the boxes by silhouette or brand. This simple pre-sort reduces repeated searching during entry.
Pull out uncertain pairs separately: collaborations, gifts, trades, private-sale pickups. Flag these so they do not slow you down during the first pass. Your grails can wait for the accuracy session. If you want a deeper look at tracking your grails, that guide covers the full process.
Sneaker catalog checklist before you start:
- Order emails located
- Marketplace order histories downloaded, where available, or open for reference
- Existing spreadsheet or Notes file printed or open
- Pairs physically grouped by silhouette or brand
Session 2: The Fast First Pass
This is the core session. The goal is sneaker collection record keeping at speed: get every pair into your rack with the minimum viable data set, then move on.
What Information to Record for Each Sneaker
For each pair during the first pass, enter 5 fields:
- Exact model and colorway, or SKU
- Size and sizing system
- Condition
- All-in cost basis, including tax, shipping and platform fees
- Purchase date
That is it for now. Do not stop to verify resale values, add photos or debate whether a pair is 8/10 or 7/10. The accuracy pass exists for exactly that.
Batch by silhouette or brand. Enter all Jordan 1s, then all Dunks, then all Yeezys, then all New Balance. Database searches run faster when you are already thinking in that silhouette, and you make fewer lookup errors.
Set a pace target: roughly 3–4 minutes per pair. At that pace, 50 pairs takes 2.5–3 hours with short breaks. If a field is genuinely unknown, leave a placeholder note rather than skipping the pair entirely. A partial record is still a record.
Include every pair. Beaters, worn rotations, low-value pickups and personal favourites go in alongside grails. Excluding them breaks the cost-basis P&L and understates total rack value. The rack is the full picture or it is not useful.
Session 3: The Accuracy Pass
The accuracy pass is not a full re-entry. It is a targeted sweep of the pairs where you left placeholders or estimated the purchase price. Budget 30–45 minutes for 50 pairs if the first pass was thorough. Slightly longer if you flagged many uncertain entries.
For each flagged pair, check the order email and marketplace transaction history, then update the purchase price. If the price is still unknown after checking, record your best estimate and note it as an estimate. A transparent estimate is more useful than a blank.
Review condition ratings too. A pair you entered as dead stock in a rush may actually have been tried on. Small corrections here improve the cost-basis P&L calculation, which tracks sneaker cost basis and profit loss across your entire collection.
Resale values can vary depending on where you look. If you want to understand why resale values vary across platforms, the short answer is that different marketplaces use different sale sets and update frequencies. CYKI uses resale marketplace data updated daily; you can read the full methodology to see how rack value is calculated, including its limitations.
After the accuracy pass, your rack value is live. Your cost-basis P&L reflects what you actually paid. You can see total collection value, individual pair performance and how your rack compares against the CYKI 100.
What Your Rack Looks Like When You Are Done
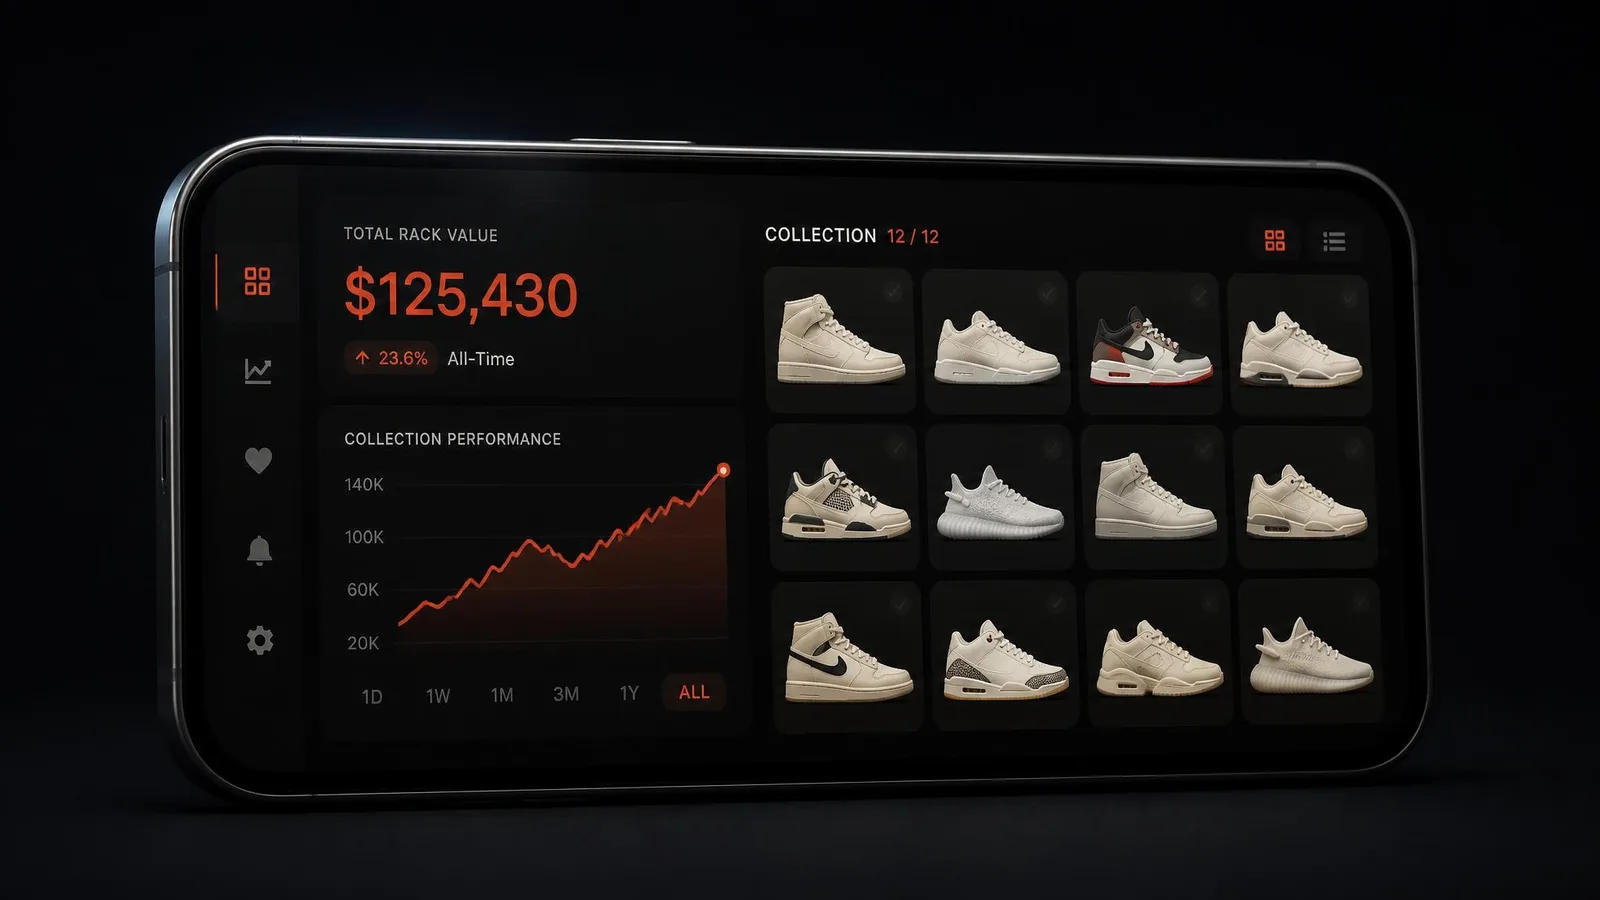
After 3 sessions you have a single source of truth: every pair you own, what you paid, what it is worth today and how the collection is tracking against the market.
Rack value updates daily using CYKI's published hierarchy of market signals. Completed sales are prioritized, but fallback inputs may be used when sales data are sparse, so treat the total as an estimate rather than a guaranteed sale price. Cost-basis P&L shows you which pairs are performing, which have dropped and where the collection stands overall. No spreadsheet formula required.
The CYKI 100 puts your rack in context. You can see whether your collection is outperforming or underperforming the broader sneaker market, the same way a stock index benchmarks a portfolio.
The rack is a starting point. Adding new pairs takes minutes. The hard work of the initial catalog is a one-time cost.
Some pairs are personal. Some are valuable. Most are both.
Rack the first 5 pairs in CYKI and see the whole collection together.
Frequently Asked Questions
How long does it take to catalog 50 sneakers?
Roughly 4–5 hours spread across 3 sessions: 45–60 minutes of prep, 2–3 hours for a fast first pass and 30–45 minutes for an accuracy check. Most collectors finish across one afternoon and one short follow-up.
How do I find the purchase price for sneakers I bought years ago?
Order confirmation emails, marketplace transaction histories from StockX or GOAT and the pair's original retail price at the time of release are the 3 most reliable recovery sources. An honest estimate is better than a blank.
Should I catalog worn sneakers and beaters, or only dead stock?
Catalog everything. Worn pairs and beaters still have rack value and still affect your cost-basis P&L. Excluding them gives you an incomplete picture of the full collection.
Is there an app that tracks both what I paid and what my sneakers are worth now?
CYKI tracks purchase price, updates rack value daily using resale marketplace data and benchmarks the collection against the CYKI 100. See how it compares with other collection tools.
Can I import my existing spreadsheet into a sneaker collection app?
Pairs can be added manually now, and migration options may be available in the future. The 3-session workflow applies either way: prep, enter, verify.